

Legacy Support
DTOS
Drive Thru Optimization System
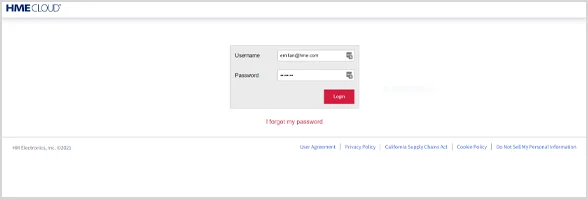
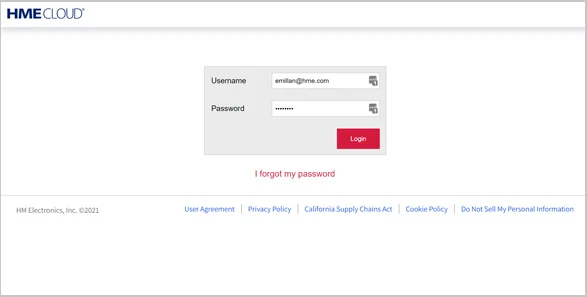
Go to: www.hmecloud.com and enter your CLOUD Username and Password to login.
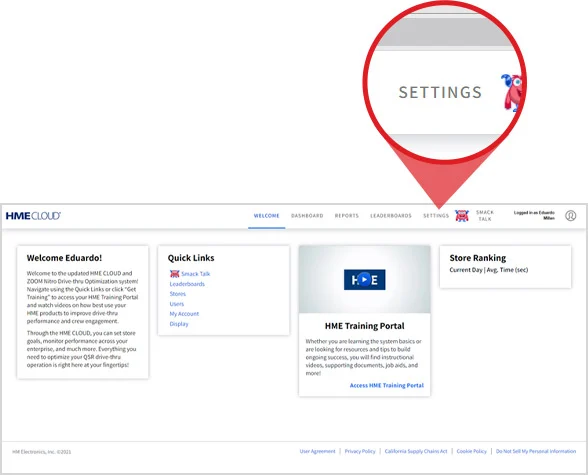
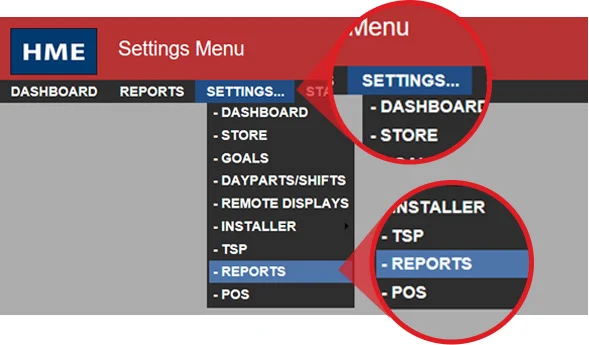
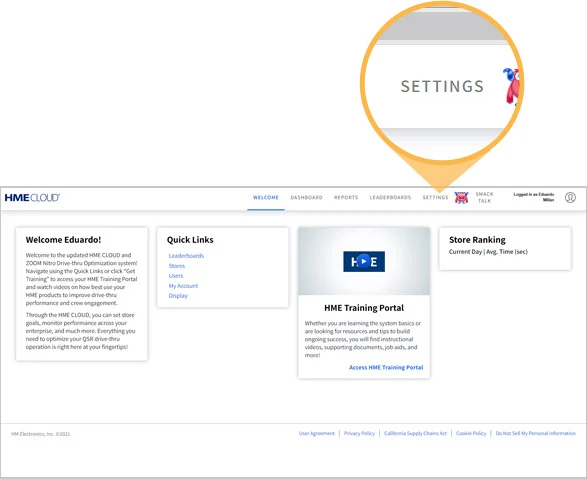
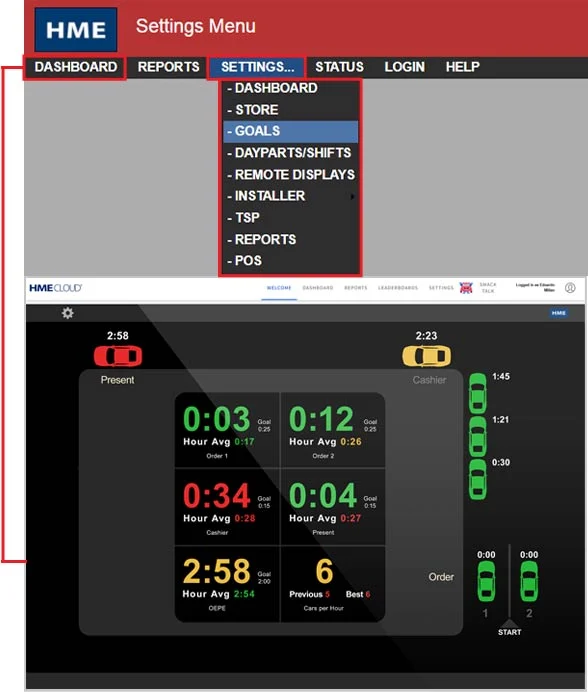
From the Settings Menu, select SETTINGS and then REPORTS.
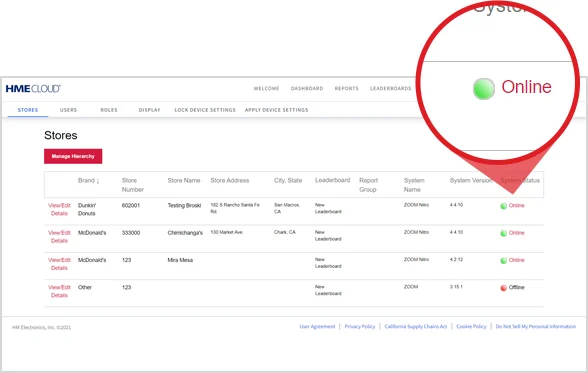
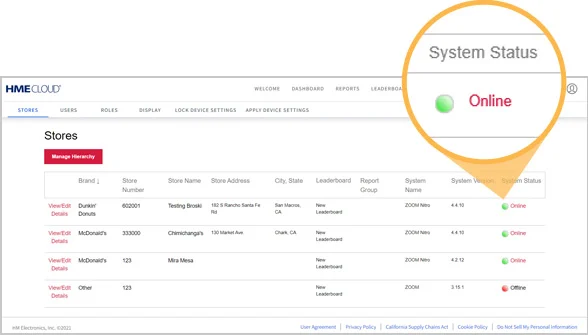
Click on the Online link for the restaurant you want to access.
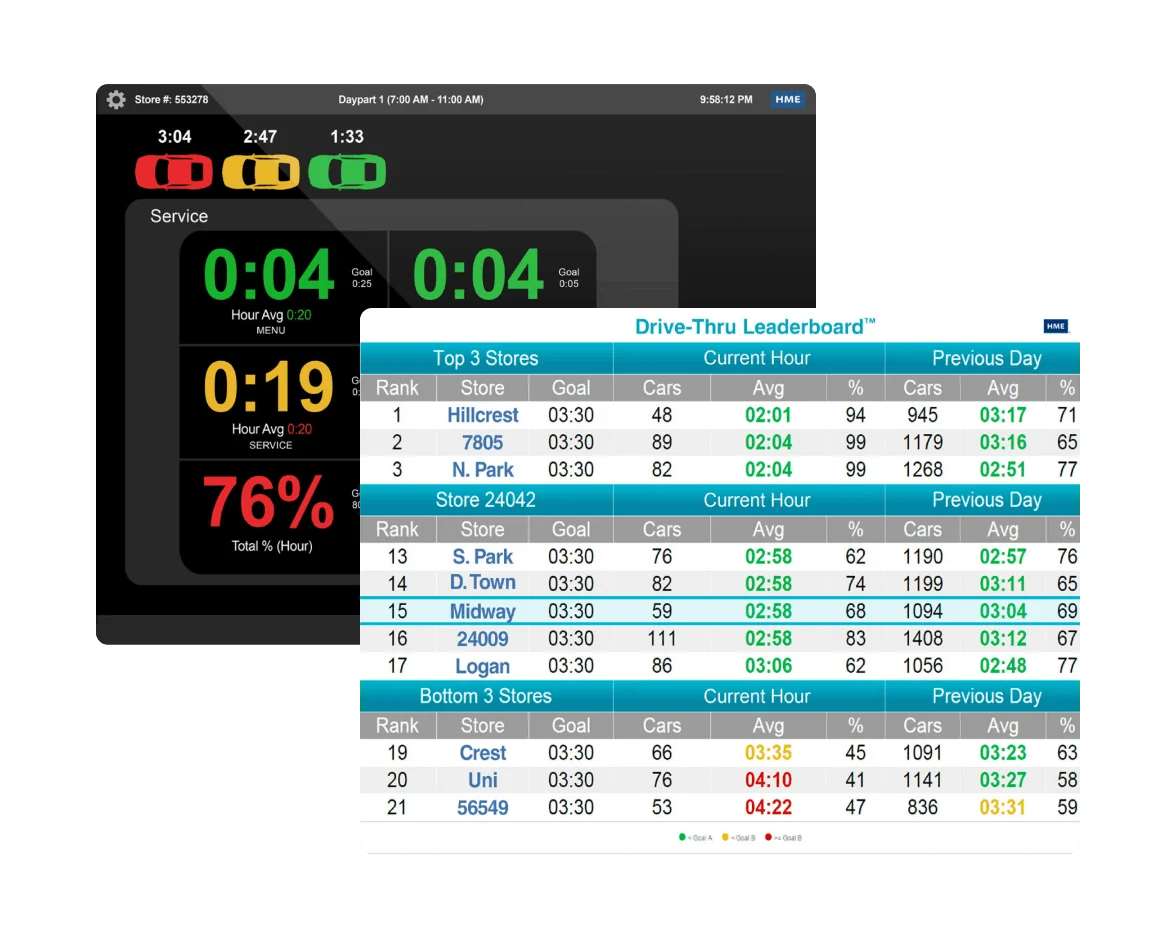
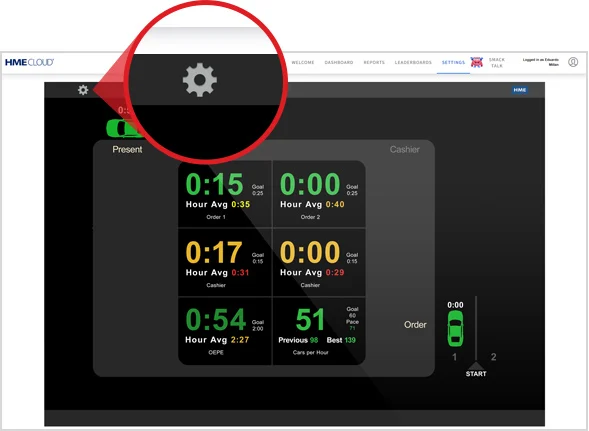
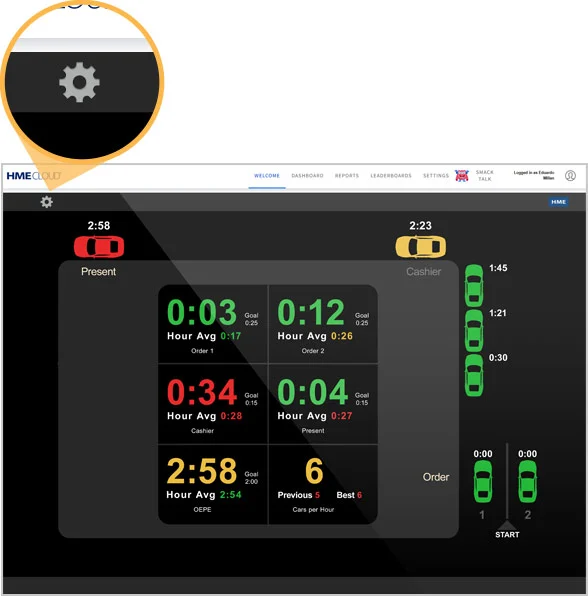
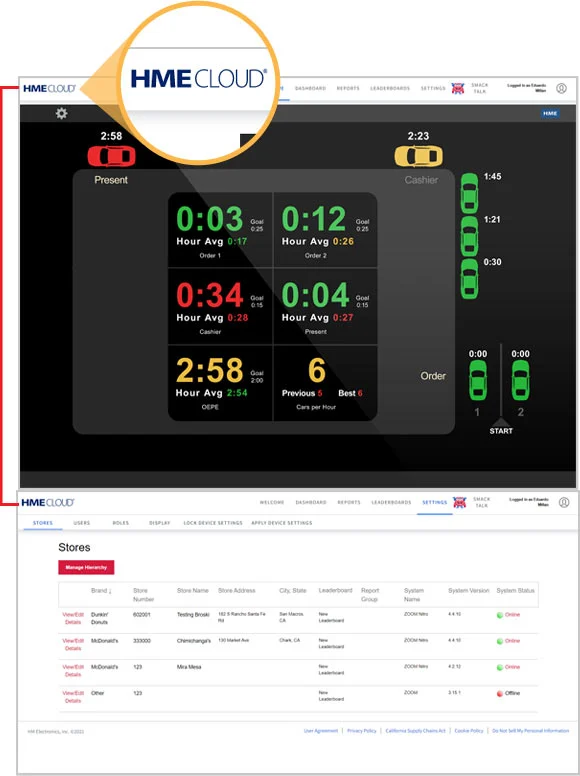
Once connected, a live image of that restaurant’s ZOOM Timer will appear as you see below.
Click on the cog wheel in the upper left corner to access the SETTINGS menu for this specific restaurant’s ZOOM Timer.
From the Settings Menu, mouse over SETTINGS tab and then select REPORTS.
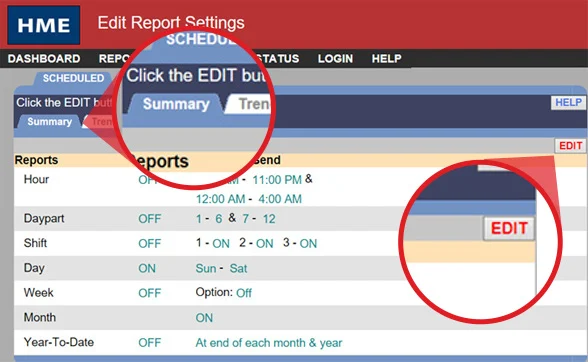
The Edit Report Settings screen will open on the Summary reports table.
- Click EDIT
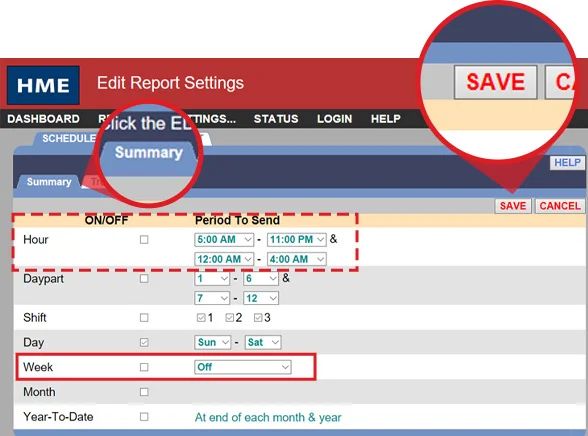
The editable Summary screen will appear.
- Click the check box to enable the Day report
- Select Sun – Sat to get the entire week
- Click SAVE
Note: It is recommended to leave all other reports on this page unchecked when first enabling your ZOOM reports. Additional reports can easily be enabled later if desired.
For example, enabling the Hour report will trigger an emailed report at the end of every hour during the selected time periods. This may be useful to help improve lower performing hours. Enabling the Hour report from 5pm – 8pm, for instance, will send you a report at the end of every hour during the dinner period.
To generate Daypart and Shift Reports, you must first define the time ranges for these periods within the Dayparts/Shifts settings.
- Click on the Trend tab
- Click EDIT
The editable Trend screen will appear.
- Click the check box to enable the Hour report
- Click SAVE
These next few steps set up the ZOOM Timer so that it automatically emails your selected reports.
Click on the SCHED. OUTPUT tab
Click EDIT
Go to: www.hmecloud.com and enter your CLOUD Username and Password to login.
Select SETTINGS on the CLOUD menu bar to access your list of restaurants.
Click on the Online link for the restaurant you want to access.
Once connected, a live image of that restaurant’s ZOOM Timer will appear as you see below.
Click on the cog wheel in the upper left corner to access the SETTINGS menu for this specific restaurant’s ZOOM Timer.
From the SETTINGS menu, proceed to make your updates as required.
When finished, click DASHBOARD to return to the live image of the restaurant’s ZOOM Timer.
To proceed to update another restaurant, click on SETTINGS on the CLOUD menu bar above the ZOOM Timer to access your list of restaurants.
To get back to the main CLOUD screen, click on the HME CLOUD logo.
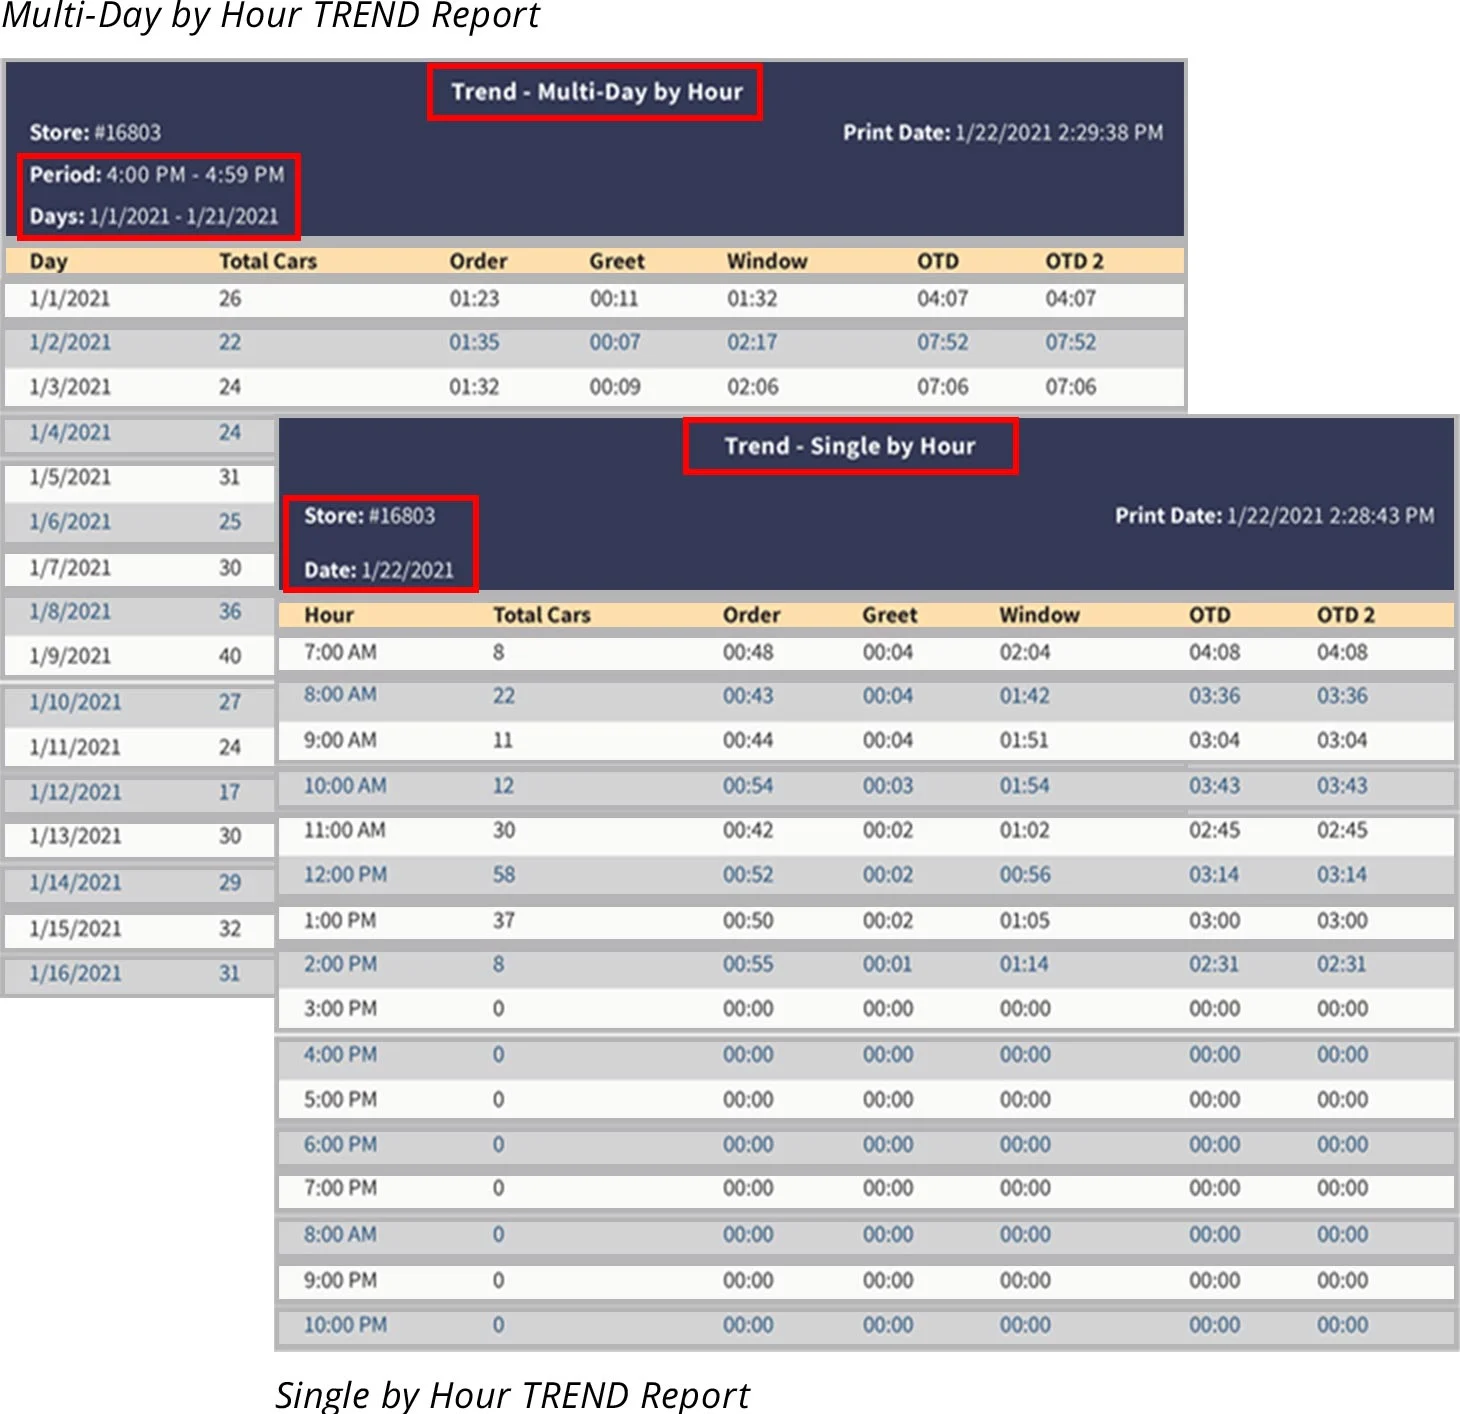
The TREND – Single Day by Hour Report from the ZOOM Timer summarizes key information to improve the guest experience in your drive thru. Outlined below are some the key items on the report as well as some example observations. Each of the numbered items below is highlighted with the same number on the sample report on the back page. This report is best used in conjunction with the Day Report.
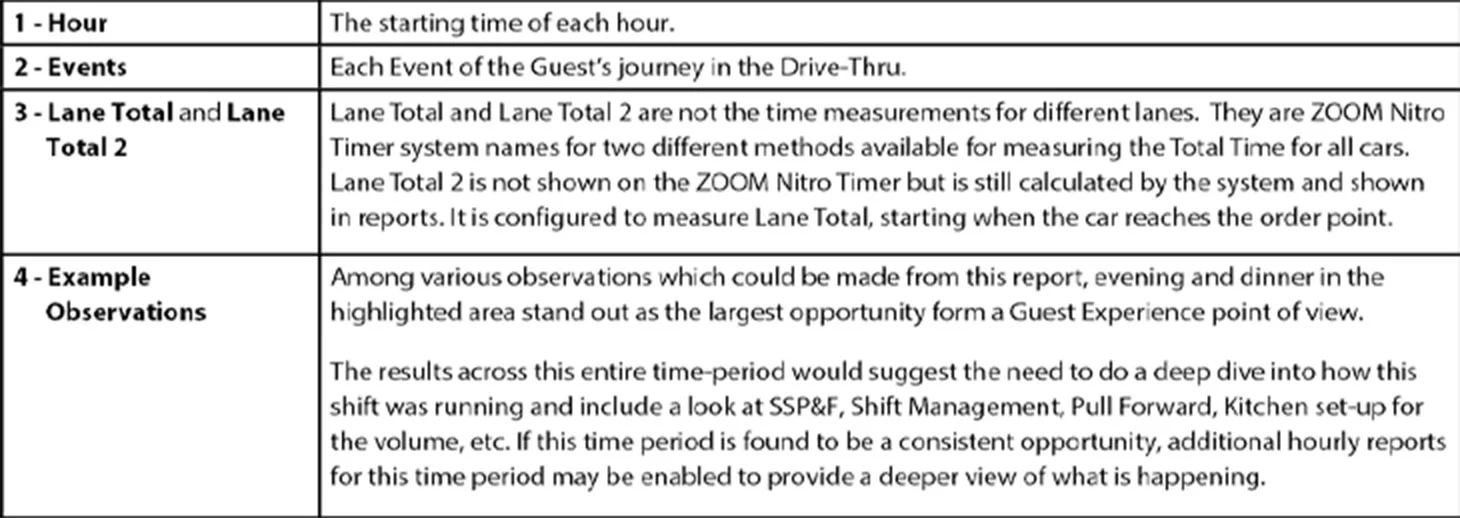
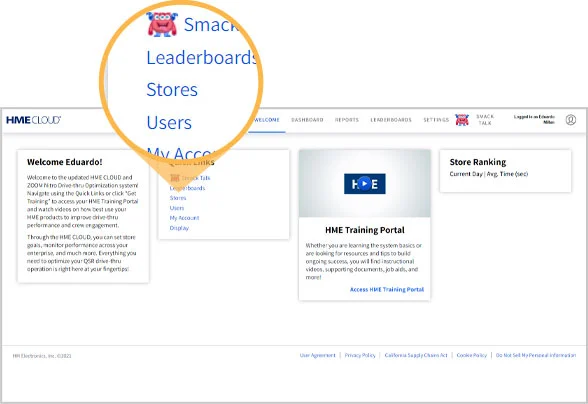
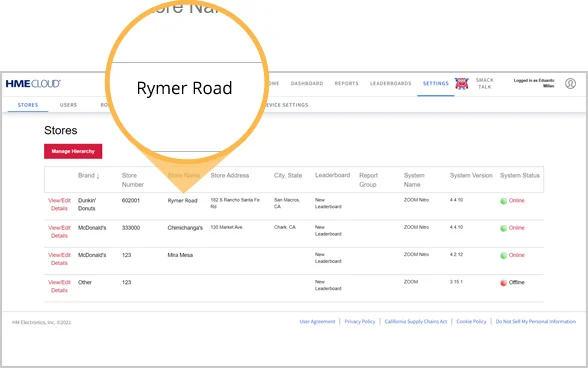
Select Stores from the Welcome page on HME CLOUD.
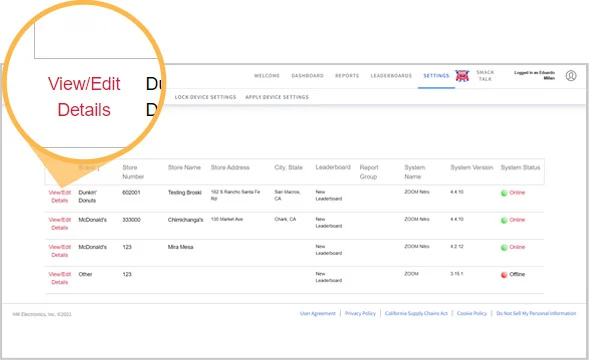
From your list of restaurants, choose one and click View/Edit Details.
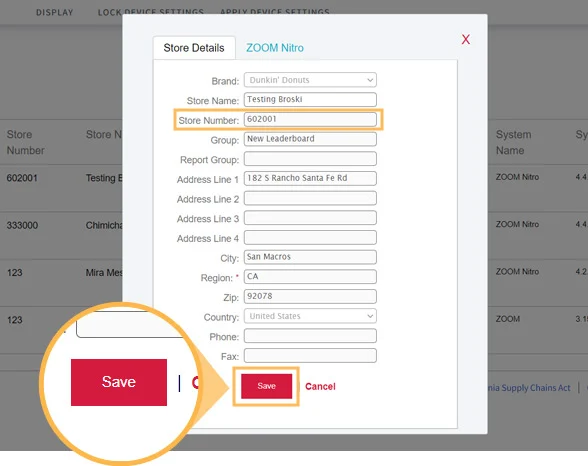
In the pop-up, change the Store Name in the Store Name field to the desired name. Clicking Save will update how this store is presented in your HME CLOUD and Drive Thru Leaderboard™.
Repeat steps 2 and 3 for each store you’d like to change.
Go to: www.hmecloud.com.
Enter your HME CLOUD Username and Password.
Select SETTINGS.
Click the View/Edit Details link for the restaurant you want to update.
The Store Details dialogue box will open. Enter the desired name in Store Name Field.
Click Save when complete.
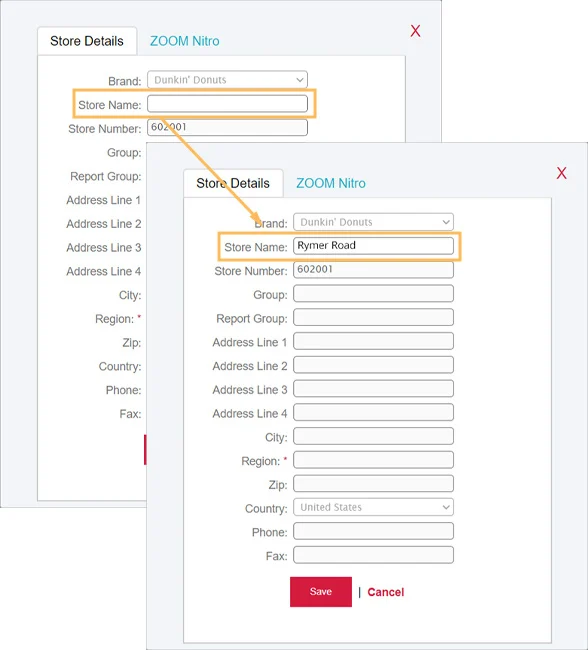
The updated name will appear in the restaurant list and the Leaderboards.
Follow the same process to update any other restaurants.
Support Resources

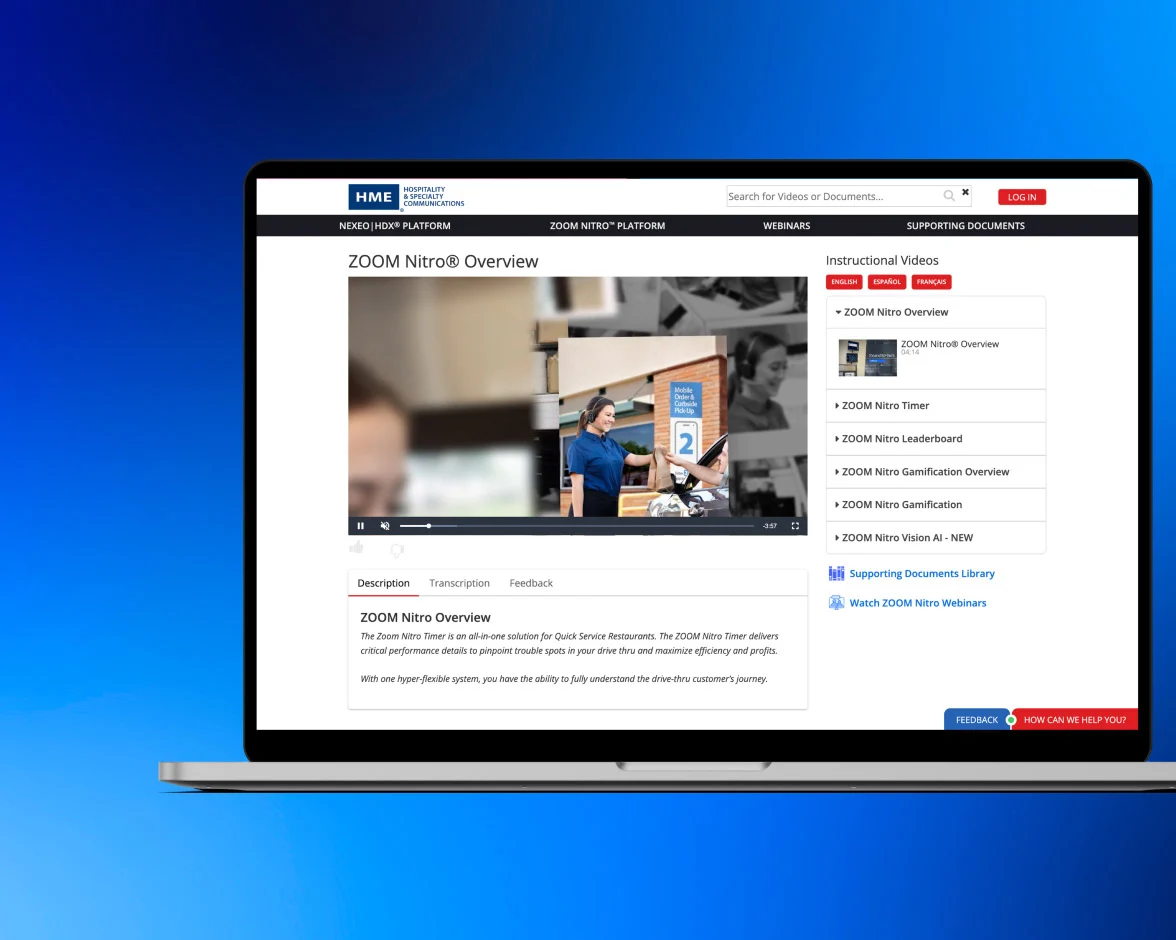
Video Tutorials and Guides
How to videos for common help topics, plus tips for getting the most out of your HME equipment.
Contact Us
Need Immediate Support?
We are available by live chat, phone, and email. Or fill out the form and we’ll call you at your convenience.
Hours of Operation
Monday – Friday | 5:00AM – 7:00PM PST
Saturday & Sunday | 7:00AM – 3:30PM PST
* indicates required fields